I am totally new at this.

It will take me a little to get the hang of this so please be patient. Thanks!
Showing posts with label Decor. Show all posts

Wednesday, July 6, 2011

From Door to Decor


I bought this plain wood door at a yard sale for $.25. I used prime and paint and then went to my cricut to cut some vinyl.


I had just the bird on there and it didnt look right so I added the twigs and whala! The cheapest decor ever!!

ThriftyThurs Thrifty Thursday Week 31

Wednesday, June 22, 2011

Anthropology Inspired Topiary


So I actually got half this idea from homemade ginger with her anthropology inspired blooms.

First I bought two terra cotta pot from Michaels that cost me a dollar and some change a piece. There are holes on the bottom so I glued a piece of cardboard to the bottom stuck my bamboo skewer through and hot glued from the bottom.

Then I painted the pot with a beige folkart acrylic paint.

Then I went into my drive way and collected rocks to fill almost to the top. This also did the job of holding the bamboo skewer. I added seashells on top to hide the rocks and hot glued seashells around the side.

I then made the ball with q-tips. You can find a full tutorial at homemade ginger.

I just love how they turned out!!! : )


Transformation Thursday


The DIY Show Off
36th Avenue


Plate Makeover

Okay. Im Back!! Had a baby on the 17th and Im ready to craft again!!

I bought this plastic plate at walmart for $1. They had all kinds of colors and I loved the edging on this plate that gave it some class.

Up close you can totally tell it was a homemade project but nobody will ever get close enough to my mantel to tell : )

First I measured the flat circle with a protractor. Drew it on a plan piece of computer paper and cut it out by hand. I Mod Podged the paper right on there.

Once that was dry I cut out the design on my cricut and mod podged that right on. I did not give the flower a coat on top because I wanted a dull look.

My mom totally thought I bought this at Pier 1 and that it was a ceramic plate... Project accomplished : )


Transformation Thursday


The DIY Show Off


36th Avenue


Tuesday, May 31, 2011

Hand Painted Faith Blocks


This was sooo cheap. Very easy and maybe a little time consuming just because I did it the cheap
way. I bought all the necessities at yard sales. I bought the wooden shelf for $.50 and the blocks came free.


These were in a "free" bin at a yard sale. Cant wait to find something to do with my new shadow box! I painted the letters brown and blue. Then I got on google images and found a font I liked
for the word faith. I first tryed in word by 72 point font still wasnt big enough when printed so I had to find an image. I used an exacto knife to cute out the letters and traced them onto the blocks and then hand painted them right on. A little time consuming but well worth it. It needed just a little more so I put the ribbon and bow on and was done!! Its a country theme so this one went to my moms house.

Monday, May 30, 2011

Revamped Frames


I found a set of 3 frames at a yard sale for $1. They were soooo not my style. So I decided to paint them black and stick in some stylish card stock and this is what I got...


I just love the 50 style theme. As you can tell I am redoing my whole house... slowly but surly. So disregard the any mismatching decor.

Redone Candle Stick Holder


I absolutely love craigslist free section. There was a few boxes of random stuff someone set out for free and this was one of the things in it. Although it did not look anything like this when we got it. It was plain and a hideous gold color (unfortunately do not have a before picture). I spray painted it with the $1.25 spray paint from the dollar general and hot glued ribbon on. At first I didnt think the hot glue was going to take to the metal but it did! I love how this turned out. So simple and so elegant. It will be put to good use at the Nissely Winery.

Tuesday, May 24, 2011

Homemade decor


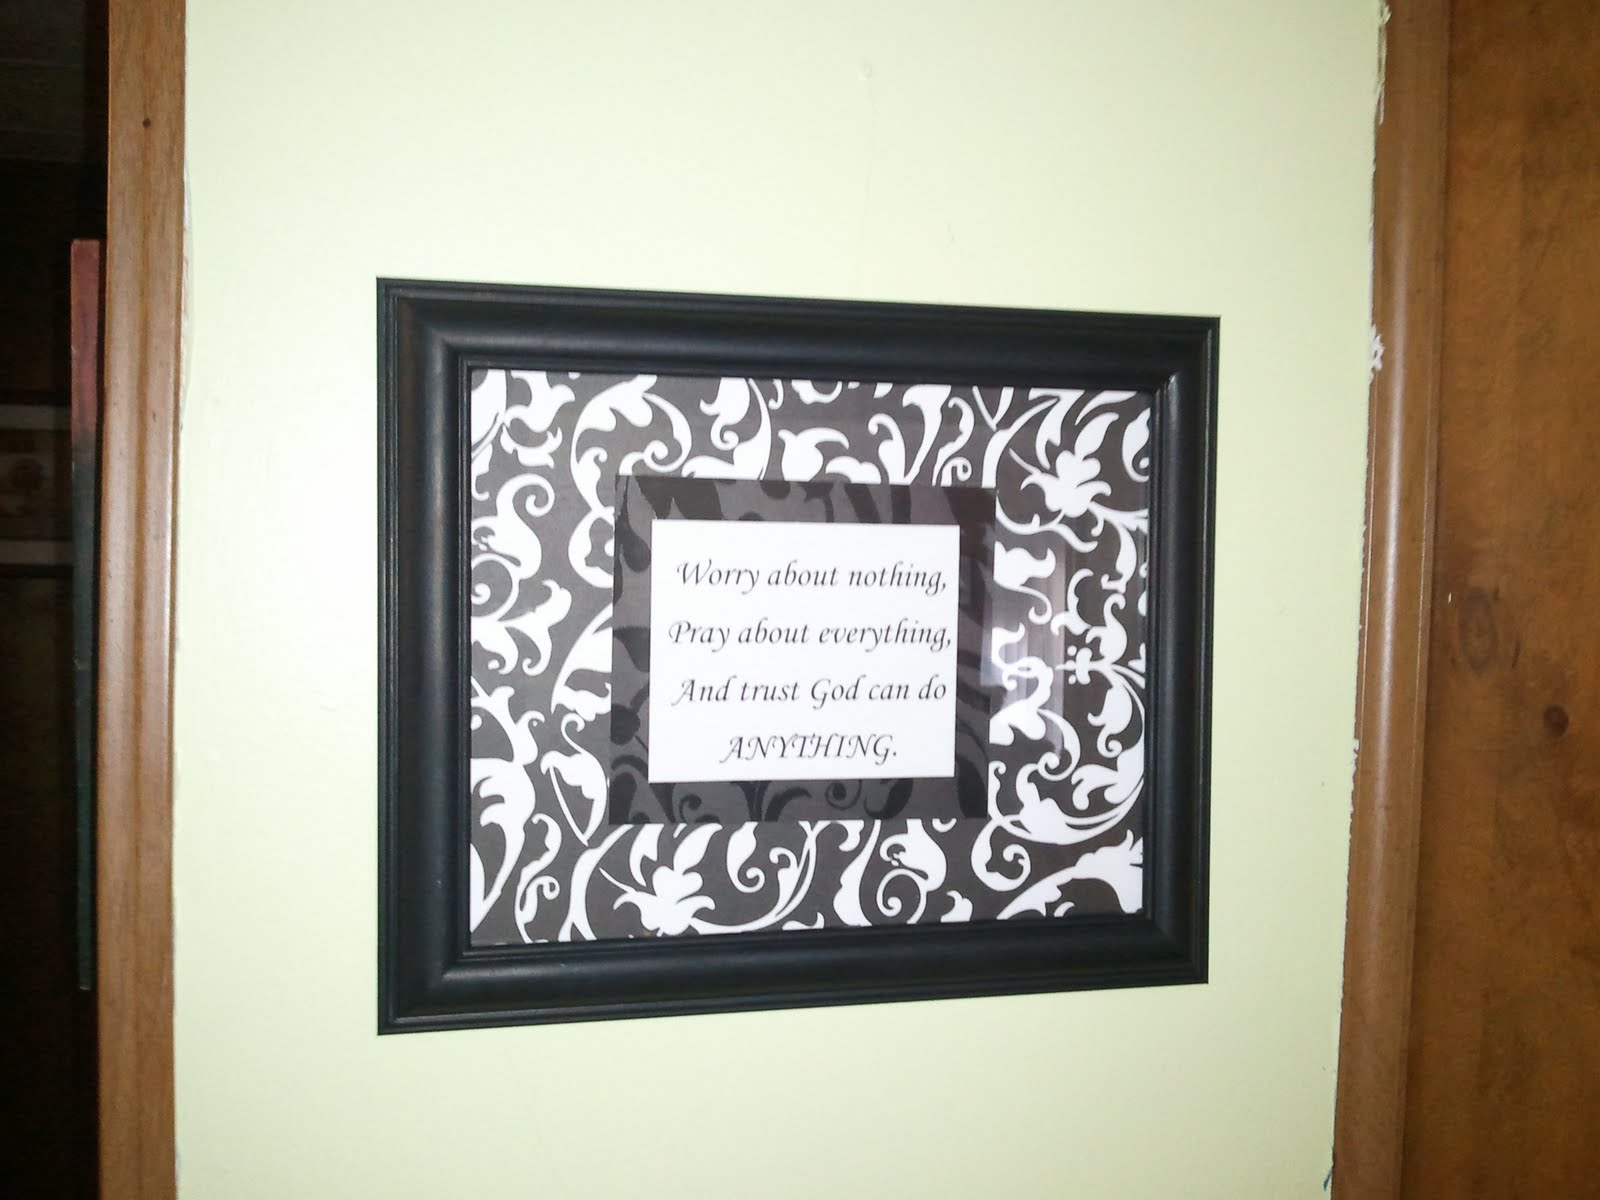
How simple and yet so effective. I cut out 2 different peices of scrapbooking cardstock and printed a quote... cut to size and done! I love this!

Monday, May 23, 2011

Mothers Day Present

This is such a simple and loving way to celebrate Mothers Day. I simply bought the 3 pack of flat canvas at Michaels. I think the total came to $3.75. It was inexpensive. I then bought the sticky hearts and already had kids fingerpaint on hand. I google imaged Happy Mothers Day and printed out kid oriented mothers day greetings. I cut it out and used Mod Podge to slap it on there.
*Be careful!! The ink easily runs! I put a very quick layer on top and left it alone. Worked perfect!


Then I painted the kids feet with a sponge brush... they love it... and made foot prints.
The hearts I let me 3 year old stick on. You can see the clump in the middle he made. I then added more to make it a little more appealing.
Lastly I hot glued ribbon and the back to make it easily hung and taaadaaa. A Mothers Day gift from the heart!!


Thursday, May 19, 2011

Shelf Redone


I dont have any before and after pictures unfortunetly :( I bought this at goodwill for $3. You can always find these at goodwill. Just plain wood like someone just made it and didnt know what to do with you.

This was one of my newer projects so I hand painted it black with acrylic paint. Its hanging at my moms house so I will upload pictures later of it in complete use. Its very cute!

I used mod podge to do the black and white background with scrapbook paper. It was very difficult and time consuming. There is probably an easier way to do it but I cut where there was a knob sticking out and used a xacto knife to cut around it. Then continued the whole way down with that method. I mod podge piece by piece. Because of the nature of the paper it is really hard to tell they dont match up.

Total Cost:
Goodwill purchase- $3
Acrylic paint- On hand or under $1
Mod podge- on hand
Cardstock- On hand

Total- Under $4!!

How to Make Cheap Decor for Kids Room

This was the easiest project ever!! And it totally makes a great birthday present or baby shower present.


What you will need:

I bought the $1 wood plaques from Michaels. Then I went through all there little wood animals. The ones with felt and are already painted I think were $.47 depending on size. Some of them you can paint yourself. Depends how creative you want to be. The white sticker letters I found in the clearance bin for $1. And lastly you will need a hot glue gun. I bought a mini hot glue gun because they have packs of mini glue sticks at the dollar store.

How to:
I used folkArt acrylic paint to paint the plaque color of my choice. It only needed one coat except for the yellow, needed two.

I then hot glued the animals on.

And then applied the stickers. For Aven's name I had to use permanent marker to make them black because you couldnt see white on the yellow.

Screw in your saw tooth hangers and its finished.

Waaaala!! The easiest project ever!!

Total cost:
Wood plaque- $1
Paint- $.97 or on hand
Hot glue- on hand
Animal- Under $1
Hanger- On hand

Total- Under $3!!