I am totally new at this.

It will take me a little to get the hang of this so please be patient. Thanks!

Tuesday, May 31, 2011

Redone Coasters


I actually got these in a "free" box off craigslist (along with those candle sticks I previously posted). I have been wanting coasters for my home but could not find any I was really interested in. I decided to paint these with my folkart acrylic paint and mod podge some cardstock in the middle. I am very pleased with
the outcome!

Hand Painted Faith Blocks


This was sooo cheap. Very easy and maybe a little time consuming just because I did it the cheap
way. I bought all the necessities at yard sales. I bought the wooden shelf for $.50 and the blocks came free.


These were in a "free" bin at a yard sale. Cant wait to find something to do with my new shadow box! I painted the letters brown and blue. Then I got on google images and found a font I liked
for the word faith. I first tryed in word by 72 point font still wasnt big enough when printed so I had to find an image. I used an exacto knife to cute out the letters and traced them onto the blocks and then hand painted them right on. A little time consuming but well worth it. It needed just a little more so I put the ribbon and bow on and was done!! Its a country theme so this one went to my moms house.

Monday, May 30, 2011

Revamped Frames


I found a set of 3 frames at a yard sale for $1. They were soooo not my style. So I decided to paint them black and stick in some stylish card stock and this is what I got...


I just love the 50 style theme. As you can tell I am redoing my whole house... slowly but surly. So disregard the any mismatching decor.

Redone Candle Stick Holder


I absolutely love craigslist free section. There was a few boxes of random stuff someone set out for free and this was one of the things in it. Although it did not look anything like this when we got it. It was plain and a hideous gold color (unfortunately do not have a before picture). I spray painted it with the $1.25 spray paint from the dollar general and hot glued ribbon on. At first I didnt think the hot glue was going to take to the metal but it did! I love how this turned out. So simple and so elegant. It will be put to good use at the Nissely Winery.

Memoribilia of Lowes Build and Grow


My son is only three but he enjoyed this project so much! He talked about how "he" made it with a hammer for days! They gave him this little patch and, well, since I cant sew... this had to do!! I have it displayed on his dresser and soon intend on displaying it on a shelf with many others to come. It is such a fun and cute thing to do with your kids!

Wednesday, May 25, 2011

Quick fix to Sugar and Flour Jars


I have been in desperate need for a while of sugar and flour jars. I just used what I had laying around.

Total Cost- $0 !!!!

I used empty prego sauce jars. Painted the lids with my folkart licorice, hot glued the ribbon together in the back, and used my stickers to supply the S and the F. Easy and super cute. Apparently its an eye catcher too. I dont know how many people have come into my home and that's the first thing they notice.

Tuesday, May 24, 2011

Homemade decor


How simple and yet so effective. I cut out 2 different peices of scrapbooking cardstock and printed a quote... cut to size and done! I love this!

Monday, May 23, 2011

Jewlery display


I have not tried this yet but this is seriously adorable!! She said its less than $10! As soon as I get to Lowes this is on my to do list. Check Thrift Chic out and her entire tutorial at
http://www.thriftyandchic.com/2010/03/drawer-pull-jewelry-organizer.html

Reupholstered Chair


< --- Poor thing : (


So this is what we have been dealing with for over a year!!! What was I thinking because it was SUCH AN EASY FIX! There were two screws holding on the seat... which I discovered from the two year old breaking it. All I did was bought fabric from JoAnns (with the help of my lovely mother : ) and stapled it on. Make sure you align the fabric how you want it!! I often miss that step because Im so excited to do the project. I pulled the sides tight and stapled them into place once in the middle and started with the corners first. Then worked my way back to the original staples. This was the best thing I could have done! Totally revamped my kitchen table!

Mothers Day Present

This is such a simple and loving way to celebrate Mothers Day. I simply bought the 3 pack of flat canvas at Michaels. I think the total came to $3.75. It was inexpensive. I then bought the sticky hearts and already had kids fingerpaint on hand. I google imaged Happy Mothers Day and printed out kid oriented mothers day greetings. I cut it out and used Mod Podge to slap it on there.
*Be careful!! The ink easily runs! I put a very quick layer on top and left it alone. Worked perfect!


Then I painted the kids feet with a sponge brush... they love it... and made foot prints.
The hearts I let me 3 year old stick on. You can see the clump in the middle he made. I then added more to make it a little more appealing.
Lastly I hot glued ribbon and the back to make it easily hung and taaadaaa. A Mothers Day gift from the heart!!


Thursday, May 19, 2011

Shelf Redone


I dont have any before and after pictures unfortunetly :( I bought this at goodwill for $3. You can always find these at goodwill. Just plain wood like someone just made it and didnt know what to do with you.

This was one of my newer projects so I hand painted it black with acrylic paint. Its hanging at my moms house so I will upload pictures later of it in complete use. Its very cute!

I used mod podge to do the black and white background with scrapbook paper. It was very difficult and time consuming. There is probably an easier way to do it but I cut where there was a knob sticking out and used a xacto knife to cut around it. Then continued the whole way down with that method. I mod podge piece by piece. Because of the nature of the paper it is really hard to tell they dont match up.

Total Cost:
Goodwill purchase- $3
Acrylic paint- On hand or under $1
Mod podge- on hand
Cardstock- On hand

Total- Under $4!!

How to Make Cheap Decor for Kids Room

This was the easiest project ever!! And it totally makes a great birthday present or baby shower present.


What you will need:

I bought the $1 wood plaques from Michaels. Then I went through all there little wood animals. The ones with felt and are already painted I think were $.47 depending on size. Some of them you can paint yourself. Depends how creative you want to be. The white sticker letters I found in the clearance bin for $1. And lastly you will need a hot glue gun. I bought a mini hot glue gun because they have packs of mini glue sticks at the dollar store.

How to:
I used folkArt acrylic paint to paint the plaque color of my choice. It only needed one coat except for the yellow, needed two.

I then hot glued the animals on.

And then applied the stickers. For Aven's name I had to use permanent marker to make them black because you couldnt see white on the yellow.

Screw in your saw tooth hangers and its finished.

Waaaala!! The easiest project ever!!

Total cost:
Wood plaque- $1
Paint- $.97 or on hand
Hot glue- on hand
Animal- Under $1
Hanger- On hand

Total- Under $3!!

Wednesday, May 18, 2011

Mod Podge For The First Time User


Things you will need...


- I have only ever used gloss and matte. I used gloss on my dresser... which I will post later. I did not like it. (Maybe because Im pregnant and it smelled really bad) I have noticed the matte does not have as strong of an odor and I like the finish the matte gives


- A paint brush... I have read a lot of tutorials on mod podge and some people swear by the foam brushes. I personally dont like them. If its a big project definitely foam but I rarely do a big project so I have designated one brush to being my mod podge brush.


-An old credit card, giant card, license ect. DO NOT start the project with out this handy. I have ruined many things by not having my cc handy.


-A nail file.


-Lastly paper towels.


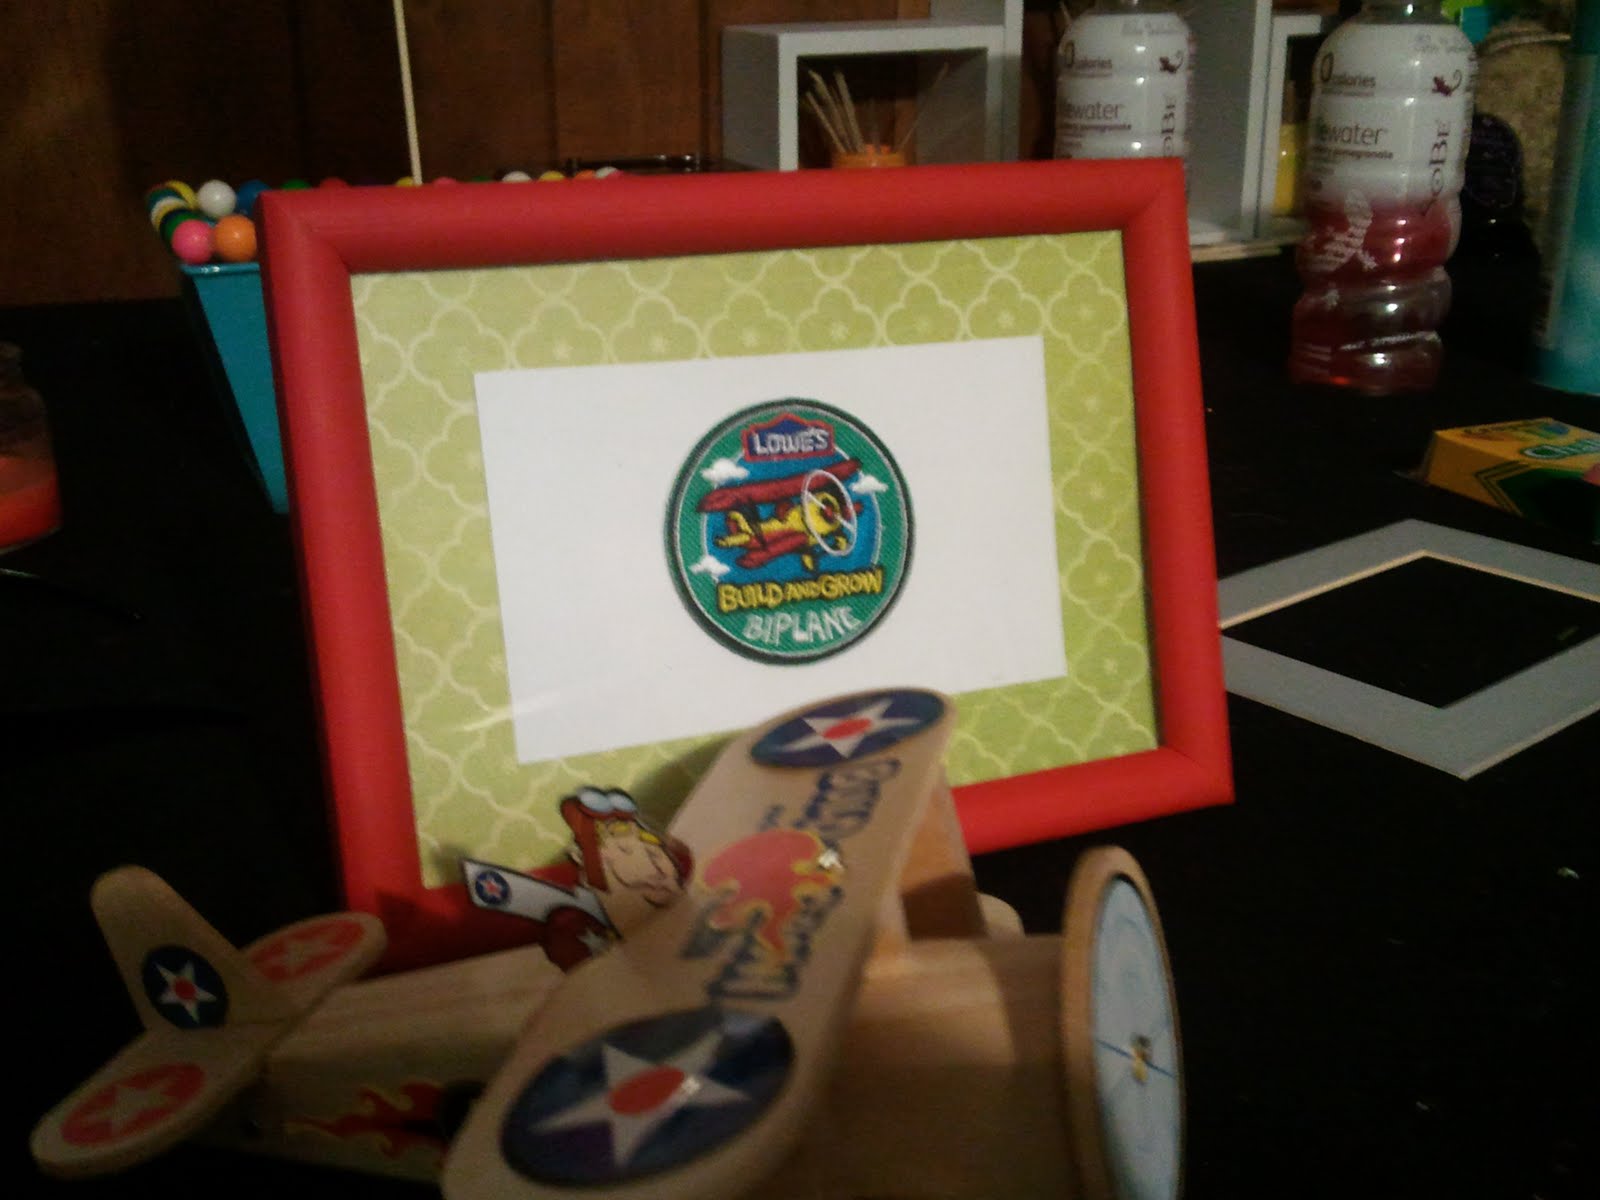
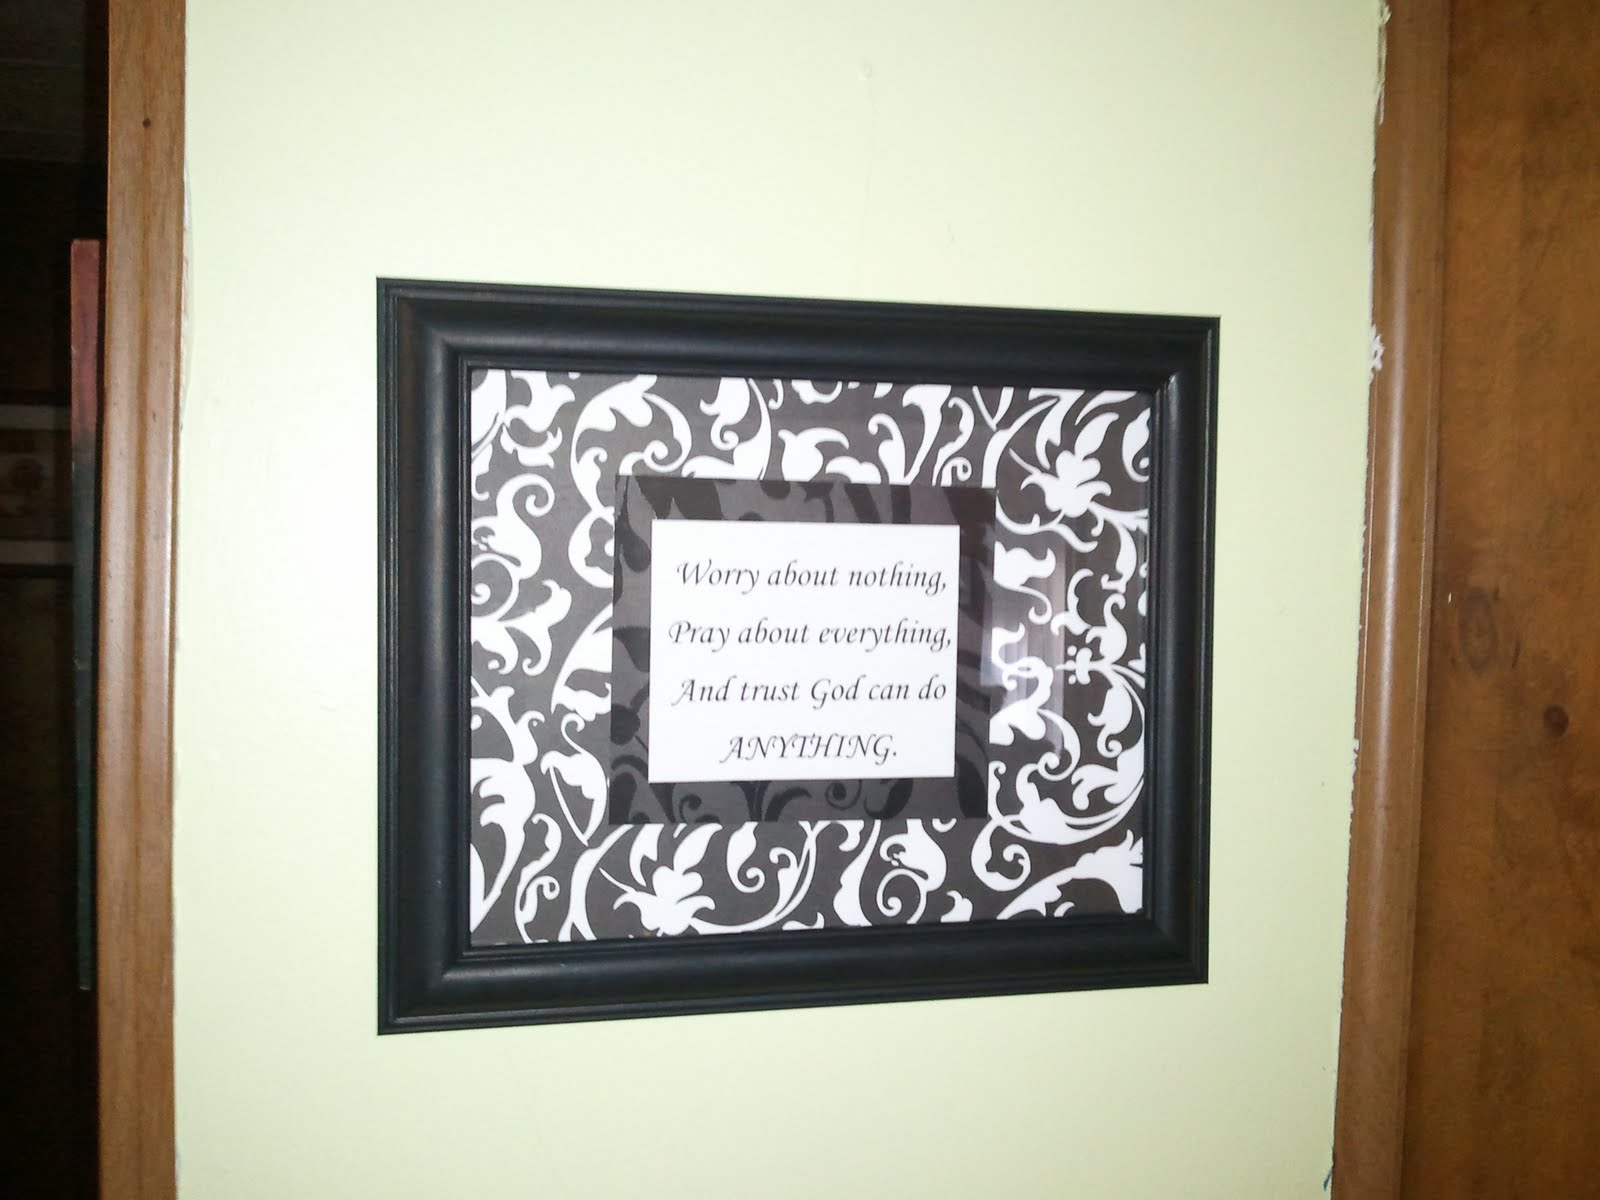
For this example we are going to imagine we are mod podging a plaque with scrapbooking paper.

To begin-
Start by brushing on a very thin layer of mod podge on the plaque. You DO NOT want to use to much. It is much harder to get the air bubbles out.

Brush on a thin layer of mod podge onto your scrapbooking paper (that should already be cut to size). Place the paper onto the plaque and align perfectly.

Then, with your credit card, start in the middle and work your way out pressing firmly. You will see a little mod podge come out as all the air bubbles are suppressed. Using your paper towel, wipe the excess mod podge. This is where it is important to use minimal mod podge. If you use an excessive amount you will have globs coming out.

Next, after you apply the paper and scrap out the bubbles use a nail file to sand the edges and make the paper blend with the plaque.

Then brush a thin layer on top and let sit for about 20 minutes. Apply another coating. I usually apply 2-3 layers depending on what type of materials I am using.

And WAAALA! You have experienced the magic of Mod Podge.

My first encounter with mod podge


So this was my first encounter with mod podge. I started reading a lot of blogs and while I was at Michaels I saw the famous Mod Podge container. I had no clue what it was for but knew I had read a lot about it so decided to pick some up. I also had purchased those $1-$2 wood plaques they have and some scrapbooking paper. I think the first 12 x 12 I picked up was a traveling one (not realizing it).

This was made and hung in my moms kitchen. Way to simple... kind of boring but I was learning.


Here are some more that I made just playing around. I used acrylic paint for the background which was actually folkArt. Come to find this is the best choice for acrylic paint and its cheapest at Walmart for $.97 for a small tube.


This one matches nothing but because my mom is my biggest fan ( <3 ) she rocks it at the bottom of her stair well. I used sawtoothhangers I got at Michaels. I love them!!!!! They work on all kinds of stuff and if those dont work ribbon does so I am never stuck with a project that cannot be hung.

My First Post

I have made quite a few things now. I have been seriously engaged in crafting for the last month in a half following a lot of different blogs. There are some seriously talented women out there! A lot of what I have made was originally the idea of someone else and then I improvised. If this is the case I will definitely give recognition but unfortunately I did not bookmark all the sites so please if anyone knows the true creator please post so I can link them up. I also am not familiar with blogging at all. This is all new to me. So if I happen to go against any blogging etiquette let me know asap.